


推しアイデア
・S〇itch2風の美しいUI ・Joy-Conでゲームをプレイできる! ・多種多様なゲームで遊べる!
・S〇itch2風の美しいUI ・Joy-Conでゲームをプレイできる! ・多種多様なゲームで遊べる!
テーマを聞いて、真っ先に思い浮かんだのがS〇itch2だったから。 (当たらなかった...)
・WebHID APIを用いての S〇itch Joy-Conによる操作の実現。
〈使用技術〉
釣りマスター3D
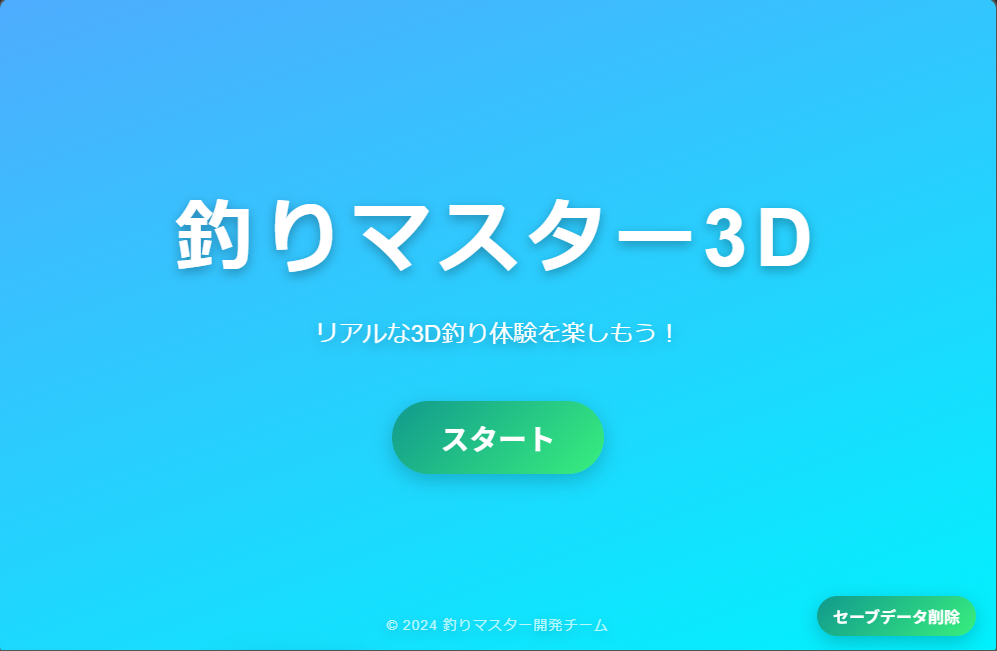
使用技術 Three.js Phaser.js WebHID API(Joy-con)
WebHID APIを使用 https://github.com/tomayac/joy-con-webhid?tab=readme-ov-file
Joy-conを前(奥)に振る動作 → キャスト Joy-conを後ろ(手前)に振る動作→ リールを巻く
// 前振り動作検出 → キャスト
if (deltaZ < THR_CAST) {
  // 釣り糸が出ていない状態でのみキャスト可能
  if (this.scene.float && !this.scene.float.visible && !this.scene.gameState.catchingFish) {
    this.scene.castLine();  // キャスト実行

    // ハプティックフィードバック(鋭い振動)
    this.rumble(160, 320, 0, 0.8);
    setTimeout(() => this.rumble(160, 160, 0, 0), 150);

    // クールダウン開始
    this.#startCooldown('motionCooldown', COOLDOWN_MOTION);
    this.lastAz = az;
    return;
  }
}

// 後ろ引き動作検出 → リール
if (deltaZ > THR_REEL) {
  // 釣り糸が出ている状態でのみリール可能
  if (this.scene.float && this.scene.float.visible && !this.scene.gameState.catchingFish) {
    this.scene.reelLine();  // リール実行

    // ハプティックフィードバック(ソフトな振動)
    this.rumble(120, 240, 0, 0.6);
    setTimeout(() => this.rumble(160, 160, 0, 0), 100);

    // クールダウン開始
    this.#startCooldown('motionCooldown', COOLDOWN_MOTION);
    this.lastAz = az;
    return;
  }
}
TOWER QUEST
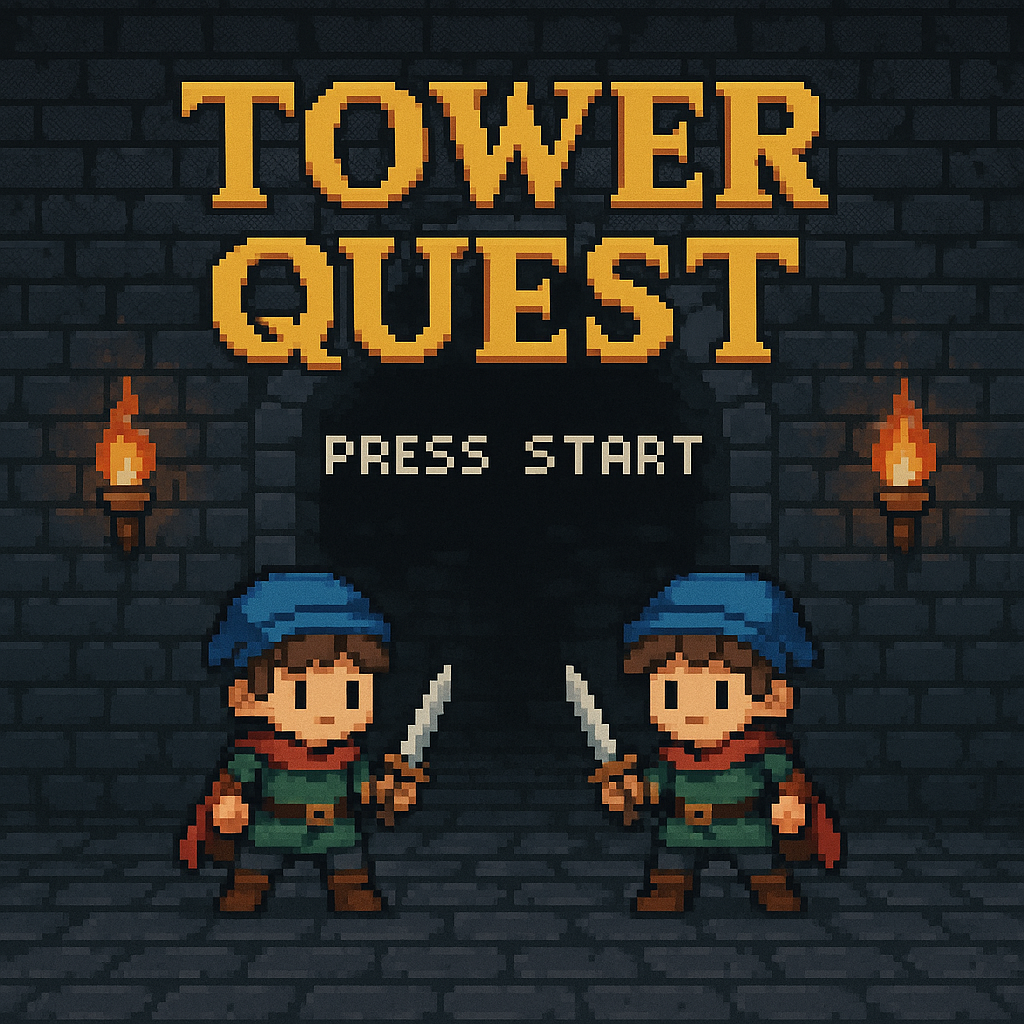
使用技術
 Phaser.js

操作方法
矢印キー→player1,2の移動

クリア条件
各キャラクターに応じた色のボタンを同時に押す
player1→緑ボタン
player2→赤ボタン

ステージ移動方法
各キャラクターに応じた色の階段を同時に上る
player1→緑
player2→赤

ランクの表示
各ステージごとにクリアタイムに応じてS~Dまでのランクを表示
最終ステージクリア後、総合ランクを表示
(各ステージクリアタイムの平均によりランク決定)

ワープゲート
ステージ上にあるワープゲートに触れると、それに紐づいているワープゲートに移動(一方通行)

氷の床
氷の床のステージは他と異なり摩擦0

playerアニメーション
移動方向、時間に応じてレイヤーの更新&ループ再生
避けゲー
使用技術
    Amazon Q CLI(プロンプトだけで作成)
    Phaser.js
強震動探し
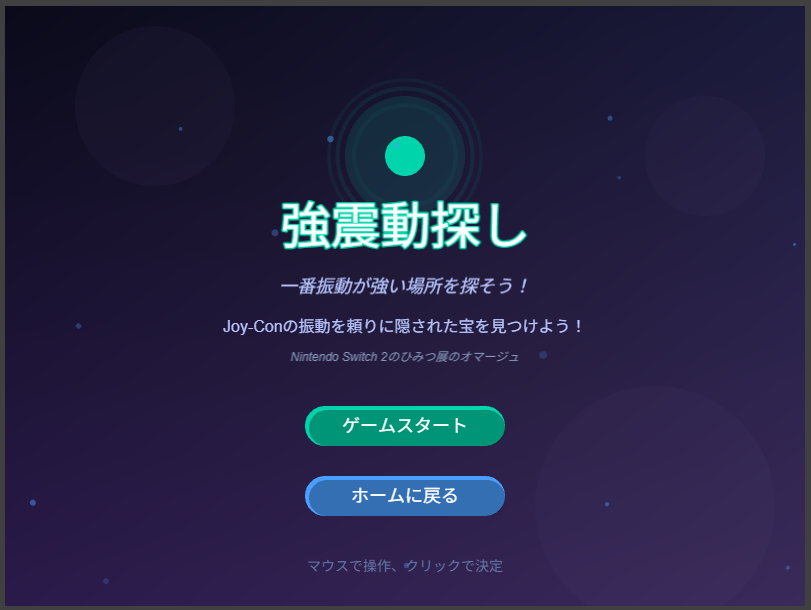
「Nintendo Switch 2 のひみつ展」の「強震動探し」のオマージュゲーム https://www.youtube.com/watch?v=zp_WndpANZk
使用技術
    Phaser.js
    Web HID API(Joy-con)
async connect() {
  // Joy-Con (R) の製品IDで接続要求
  const devices = await navigator.hid.requestDevice({
    filters: [{
      vendorId: 0x057e,    // Nintendo
      productId: 0x2007    // Joy-Con (R)
    }]
  });

  this.device = devices[0];
  await this.device.open();

  // HIDレポート受信の開始
  this.device.addEventListener('inputreport', this.handleInputReport.bind(this));
}
handleInputReport(event) {
  const data = new Uint8Array(event.data.buffer);

  // ボタン状態(バイト3-5)
  this.inputState.rawButtons = {
    byte3: data[3],  // メインボタン
    byte4: data[4],  // 方向ボタン等
    byte5: data[5]   // その他
  };

  // 右スティック(バイト9-11)
  const rawX = (data[9] | ((data[10] & 0x0F) << 8));
  const rawY = ((data[10] >> 4) | (data[11] << 4));

  // 正規化(-1.0 〜 1.0)
  this.inputState.rightStick = {
    x: (rawX - this.calibration.centerX) / this.calibration.range,
    y: (rawY - this.calibration.centerY) / this.calibration.range
  };
}
DevDetective
ブラウザのデベロッパーツールを用いた謎解きゲーム
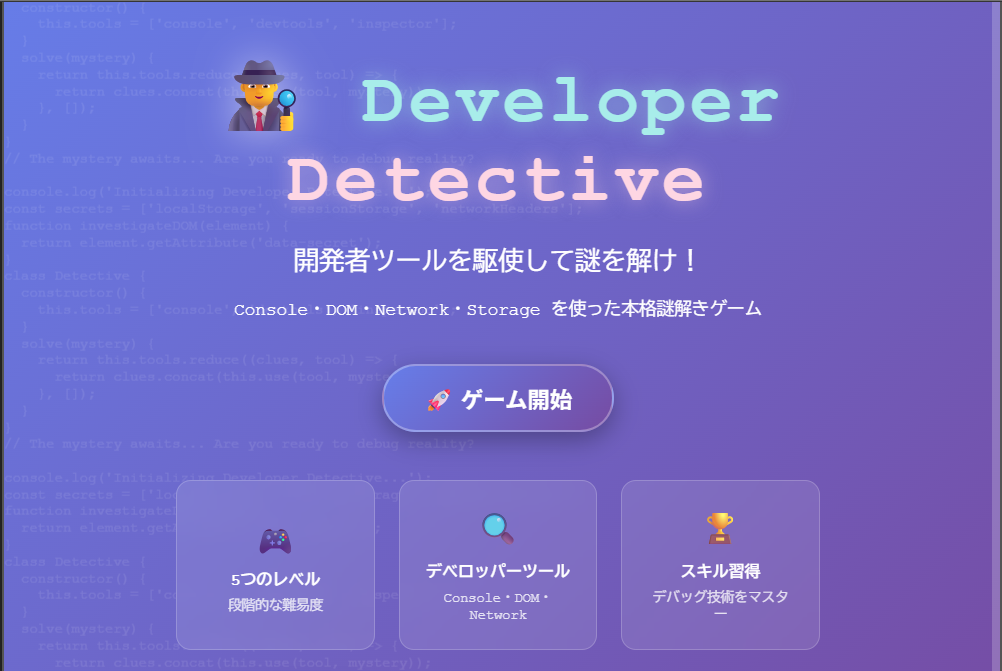
使用技術
 Console API
 LocalStorage
 DOM API
 Vanilla JavaScript(生JS)
 CSS Animations/CSS in JS
背景でJSのコードが流れてくるアニメーションを作って、それっぽくした。
createBackground() {
  // アニメーション背景要素を作成
  const backgroundCode = document.createElement('div');
  backgroundCode.style.position = 'absolute';
  backgroundCode.style.top = '0';
  backgroundCode.style.left = '0';
  backgroundCode.style.width = '100%';
  backgroundCode.style.height = '100%';
  backgroundCode.style.opacity = '0.1';  // 薄く表示
  backgroundCode.style.fontSize = '14px';
  backgroundCode.style.lineHeight = '1.2';
  backgroundCode.style.whiteSpace = 'pre-wrap';
  backgroundCode.style.overflow = 'hidden';
  backgroundCode.style.animation = 'scrollCode 20s linear infinite';  // 無限スクロール

  // 実際のJavaScriptコードを背景に流す
  const codeText = `
console.log('Initializing Developer Detective...');
const secrets = ['localStorage', 'sessionStorage', 'networkHeaders'];
function investigateDOM(element) {
  return element.getAttribute('data-secret');
}
class Detective {
  constructor() {
    this.tools = ['console', 'devtools', 'inspector'];
  }
  solve(mystery) {
    return this.tools.reduce((clues, tool) => {
      return clues.concat(this.use(tool, mystery));
    }, []);
  }
}
// The mystery awaits... Are you ready to debug reality?
`;
  backgroundCode.textContent = codeText.repeat(10);
  this.container.appendChild(backgroundCode);
}
@keyframes scrollCode {
  from { transform: translateY(0); }
  to { transform: translateY(-50%); }  /* 半分の位置まで移動して無限ループ */
}
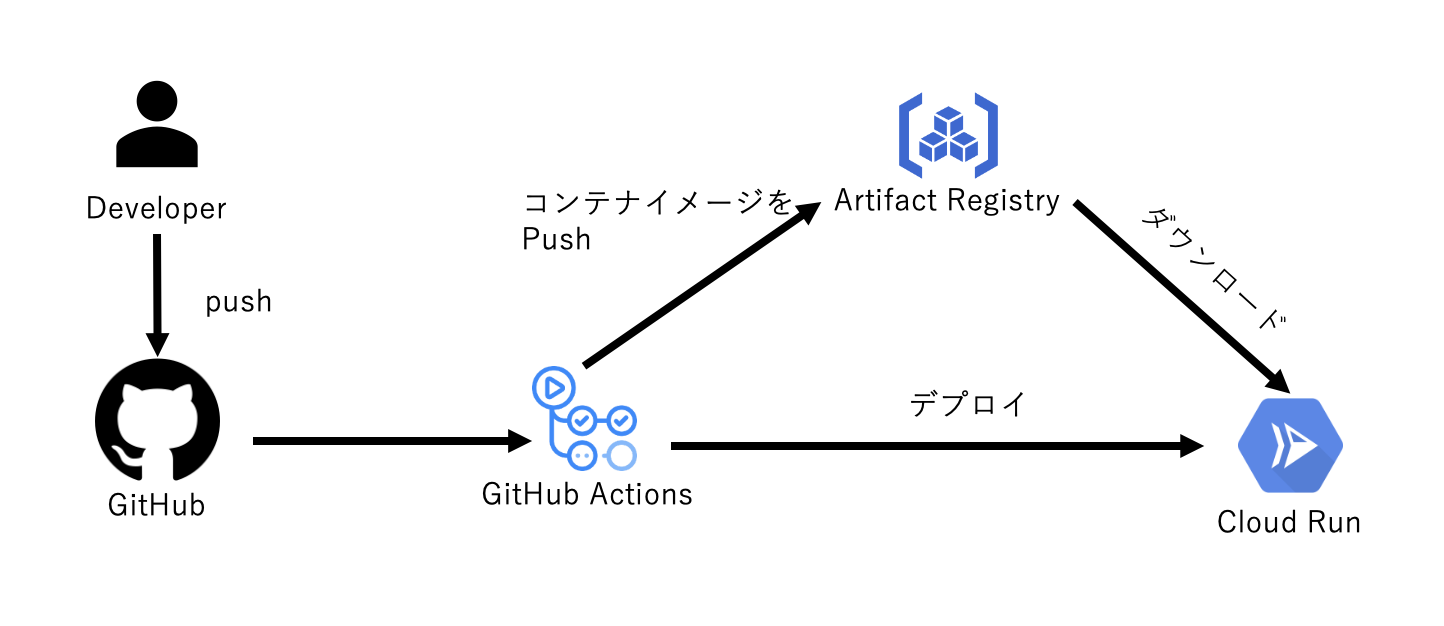
Teraformをやってみたかっただけなんで。Cloudflareに変更 お財布にやさしい https://giganoto-front.pages.dev/
Joyconでカーソルを操作を少し実装 動画はこちら
GitHub上のCopilotと壁打ちしてIsuue作成
GitHub Copilotコードレビューのカスタム命令 プレビュー版リリース(6/13)が最近知って試してみました 例があるため簡単にこんな風に設定しました。